After the Fleet Opened Fire
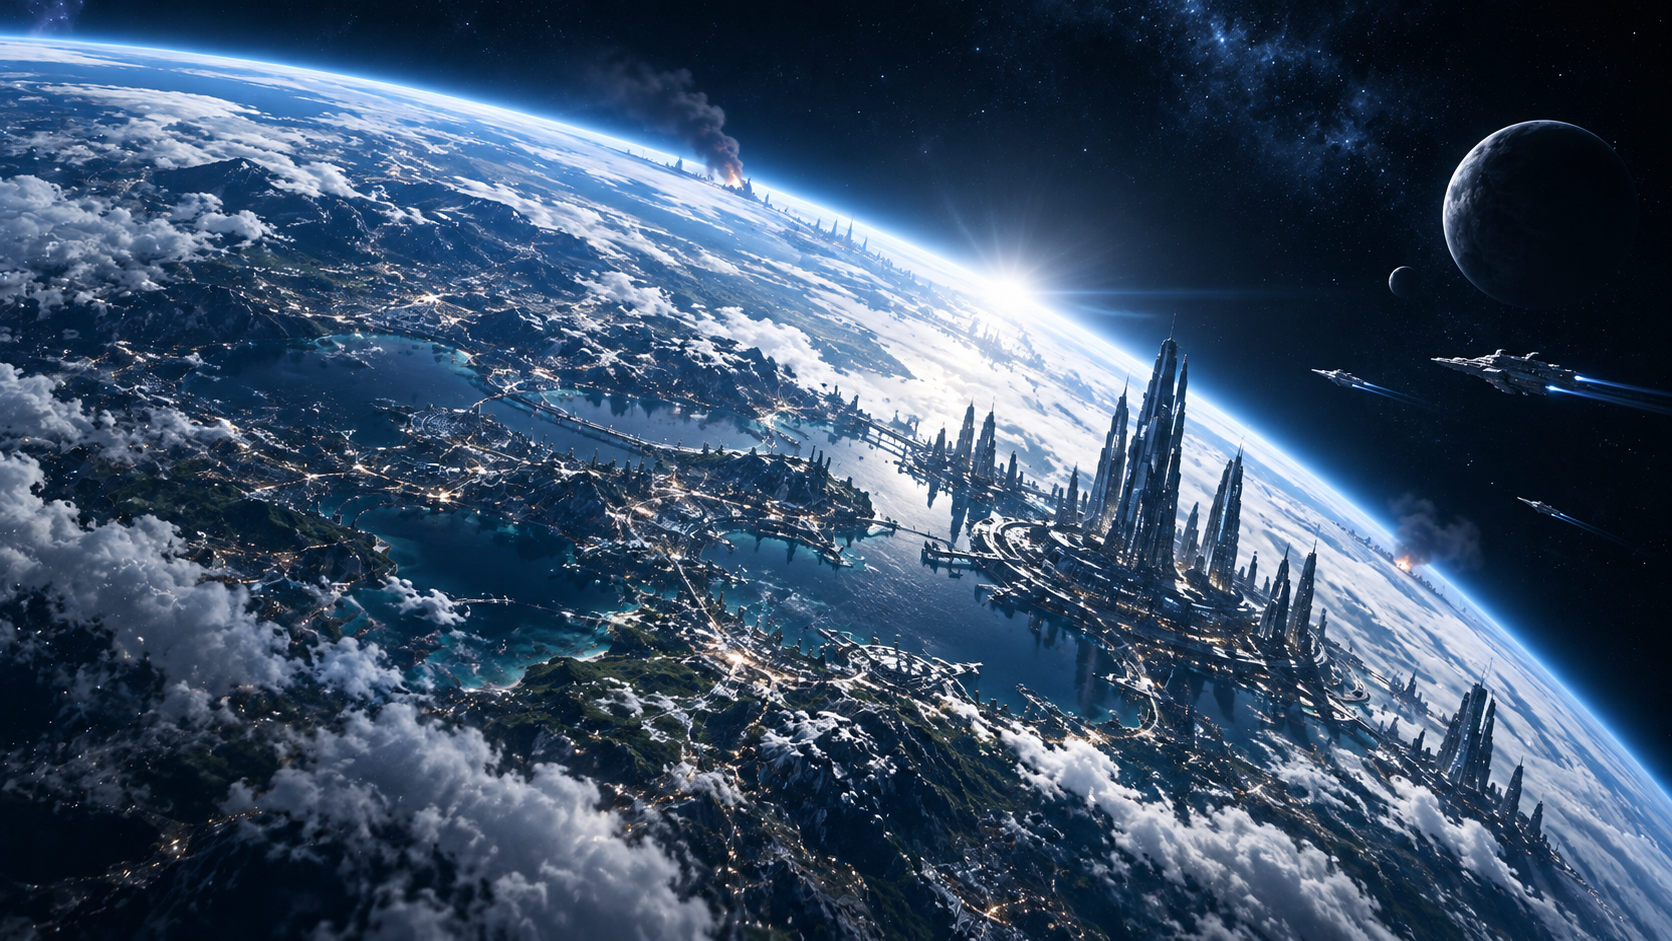
The Clairmont begins where The Reckoning left the Freedom: above Veridian, with Earth 3's betrayal no longer deniable. Central Command had directed Carter toward the Machine Core, the Noctyri, Orpheon, and the Veil while withholding information about each. Its fleet arrived too quickly after his discoveries and then tried to contain him. Carter can no longer treat its orders as imperfect guidance from a distant ally. The institution that sent him outward now regards what he learned—and perhaps what he might tell others—as a threat.
Another silence makes the confrontation personal. A contact inside Earth 3 had been passing Carter coordinates, warnings, and inconsistencies in official reports. Their history predates the crisis; she is not a convenient voice on a secure channel. When her messages stopped, he could not tell whether she had gone into hiding, been arrested, or died. By the time the Clairmont comes into view, he has reason to believe she is alive aboard it. A ship that might otherwise be a military target becomes a place where someone he trusts is being held.
The Clairmont Is the Battlefield
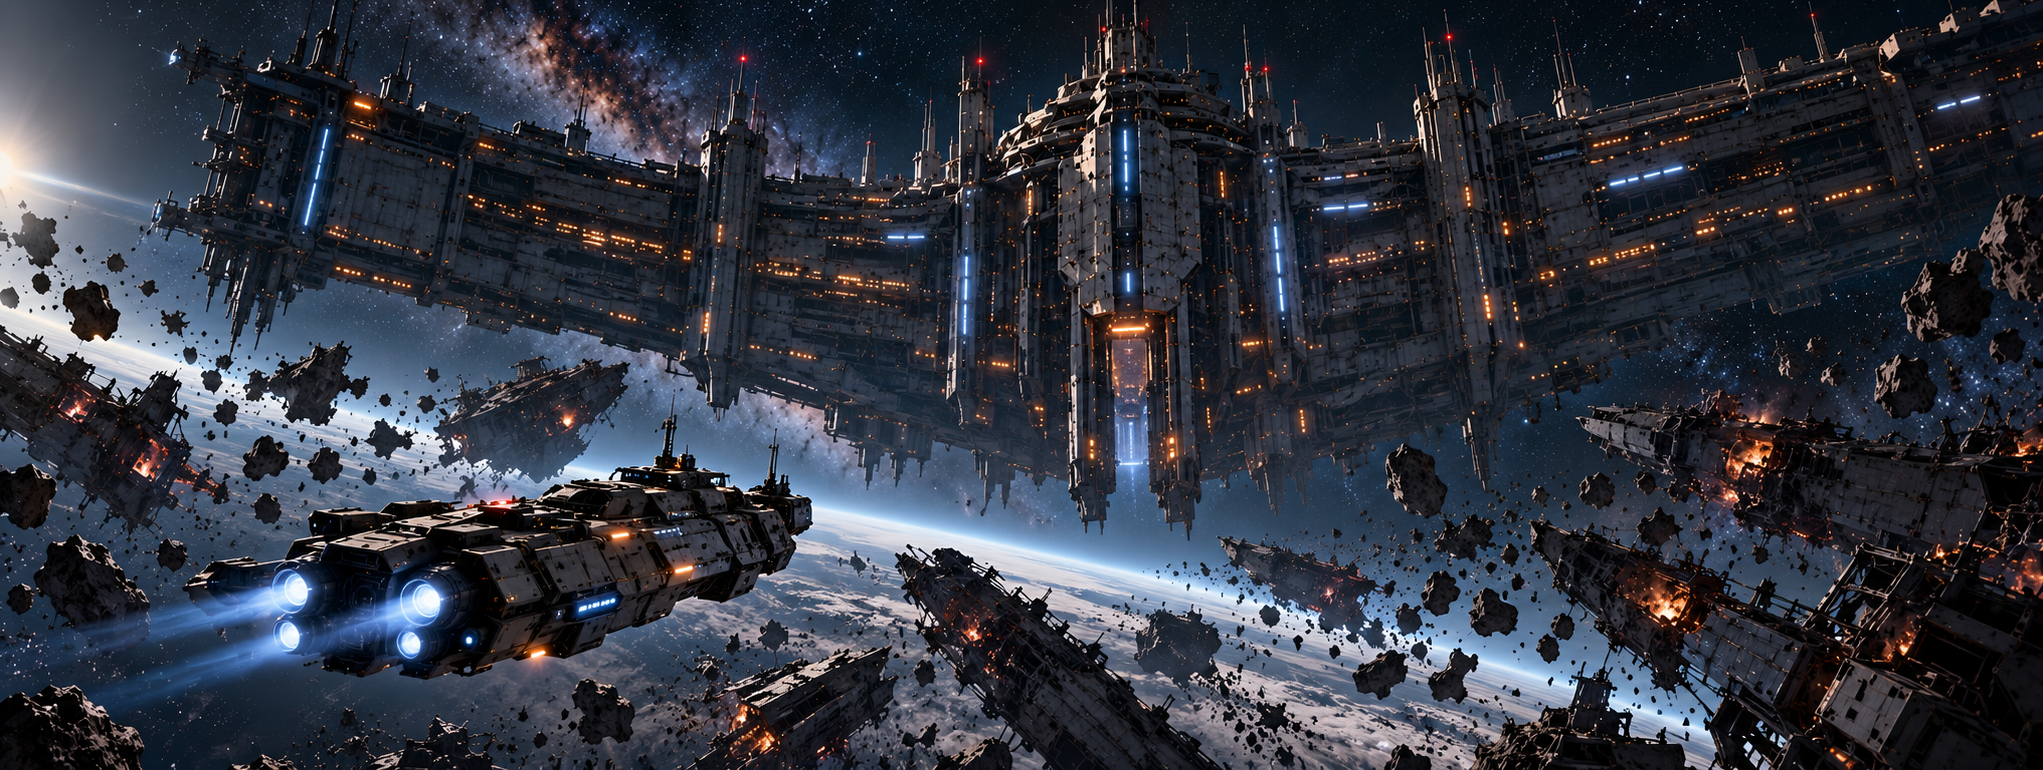
The Clairmont is a massive Earth 3 command vessel, closer in effect to a mobile military installation than a single enemy craft. Its armored underside gradually fills Carter's view; its hangar can admit and launch fighters; its corridors have their own emplacements and containment barriers. The level's geography changes accordingly. First the ship is a distant destination, then a wall over the orbital graveyard, and finally the enclosing architecture around the Freedom. Carter cannot win by reducing one giant hull to zero health. He must open a route through successive layers of a functioning warship.
That scale also changes how Earth 3 is understood. Level 8 exposed the betrayal. Level 9 exposes the resources behind it: escort cruisers, missile screens, hull-mounted weapons, a fortified hangar, dedicated security craft, and a weapon that does not resemble ordinary fleet engineering. Each layer has a practical military purpose, yet together they feel designed for more than defending a vessel. They are protecting whatever the command ship cannot afford to let Carter reach.
Stage I — Formation Breaker
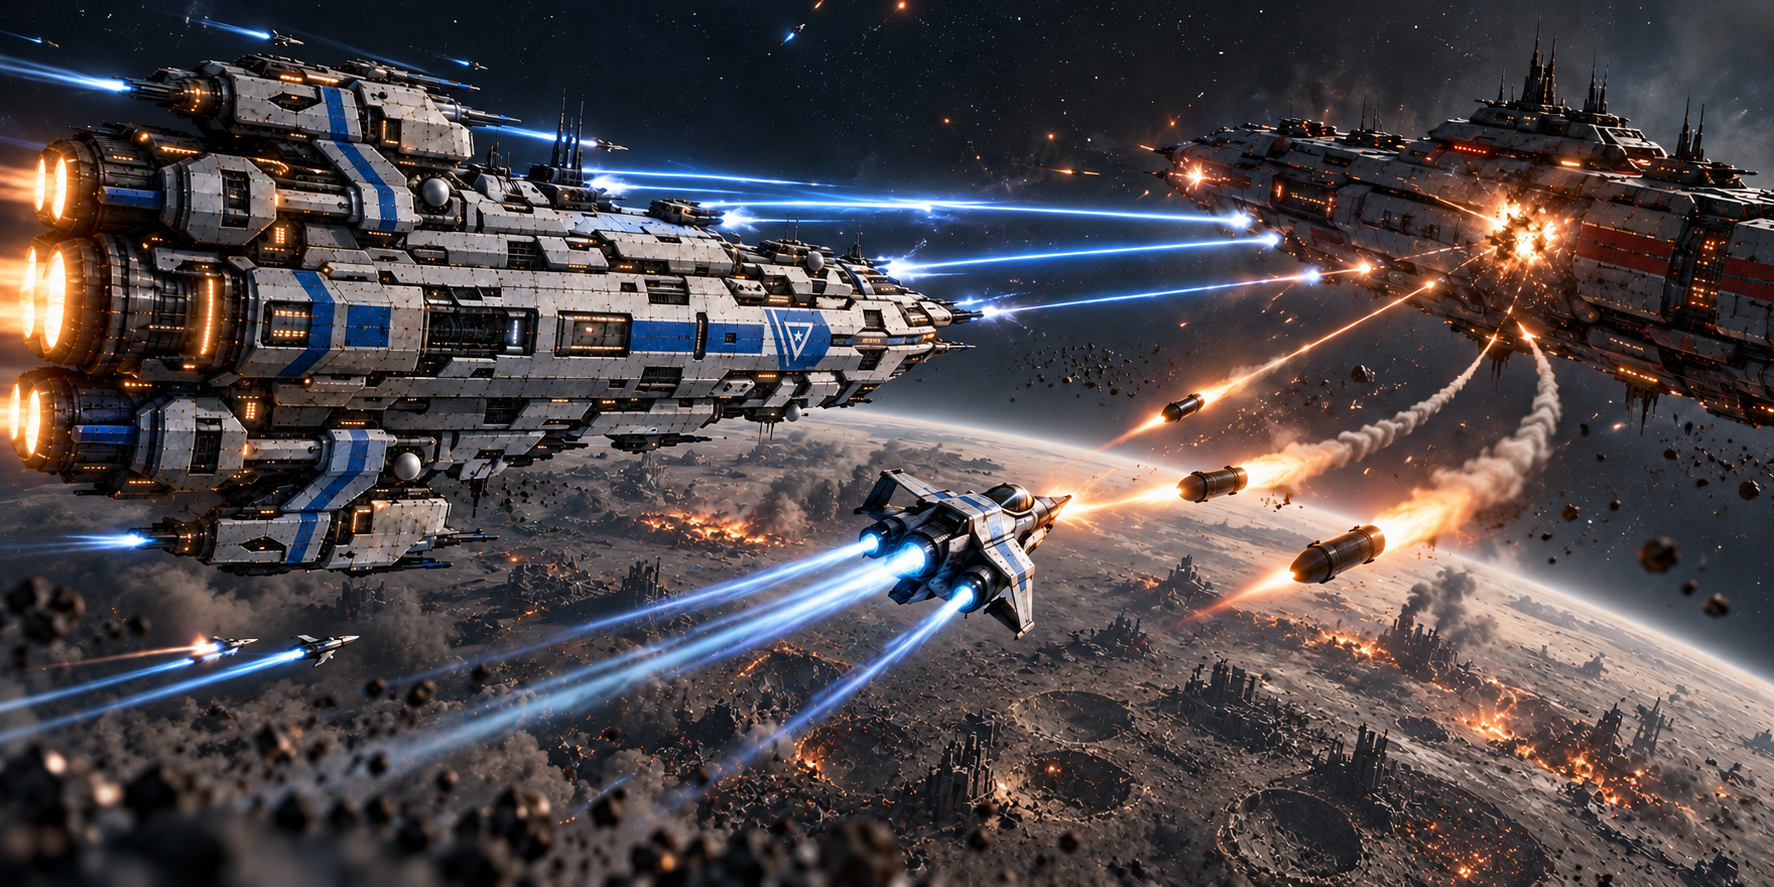
Carter does not begin the assault alone. The allied Reach engages an Earth 3 defense cruiser that blocks the route to the Clairmont, leaving the Freedom between two capital ships exchanging heavy fire. The cruiser sends missile volleys at the Reach and directs chain-fire at Carter. Even the friendly hull is not an effortless refuge: incoming rounds can detonate against it while the Freedom remains in the blast zone.
Carter's task is to keep the Reach in the fight. He intercepts missiles before they reach the allied ship and survives long enough for its charged heavy weapon to land repeated hits on the cruiser. The Reach, not the Freedom's ordinary guns, breaks the formation. Its slow firing rhythm gives every defended interval a purpose: one more intercepted volley buys one more chance to fire. When the damaged cruiser finally gives way, Carter leaves the Reach's immediate protection and heads for the command ship itself.
Stage II — Bunker Buster
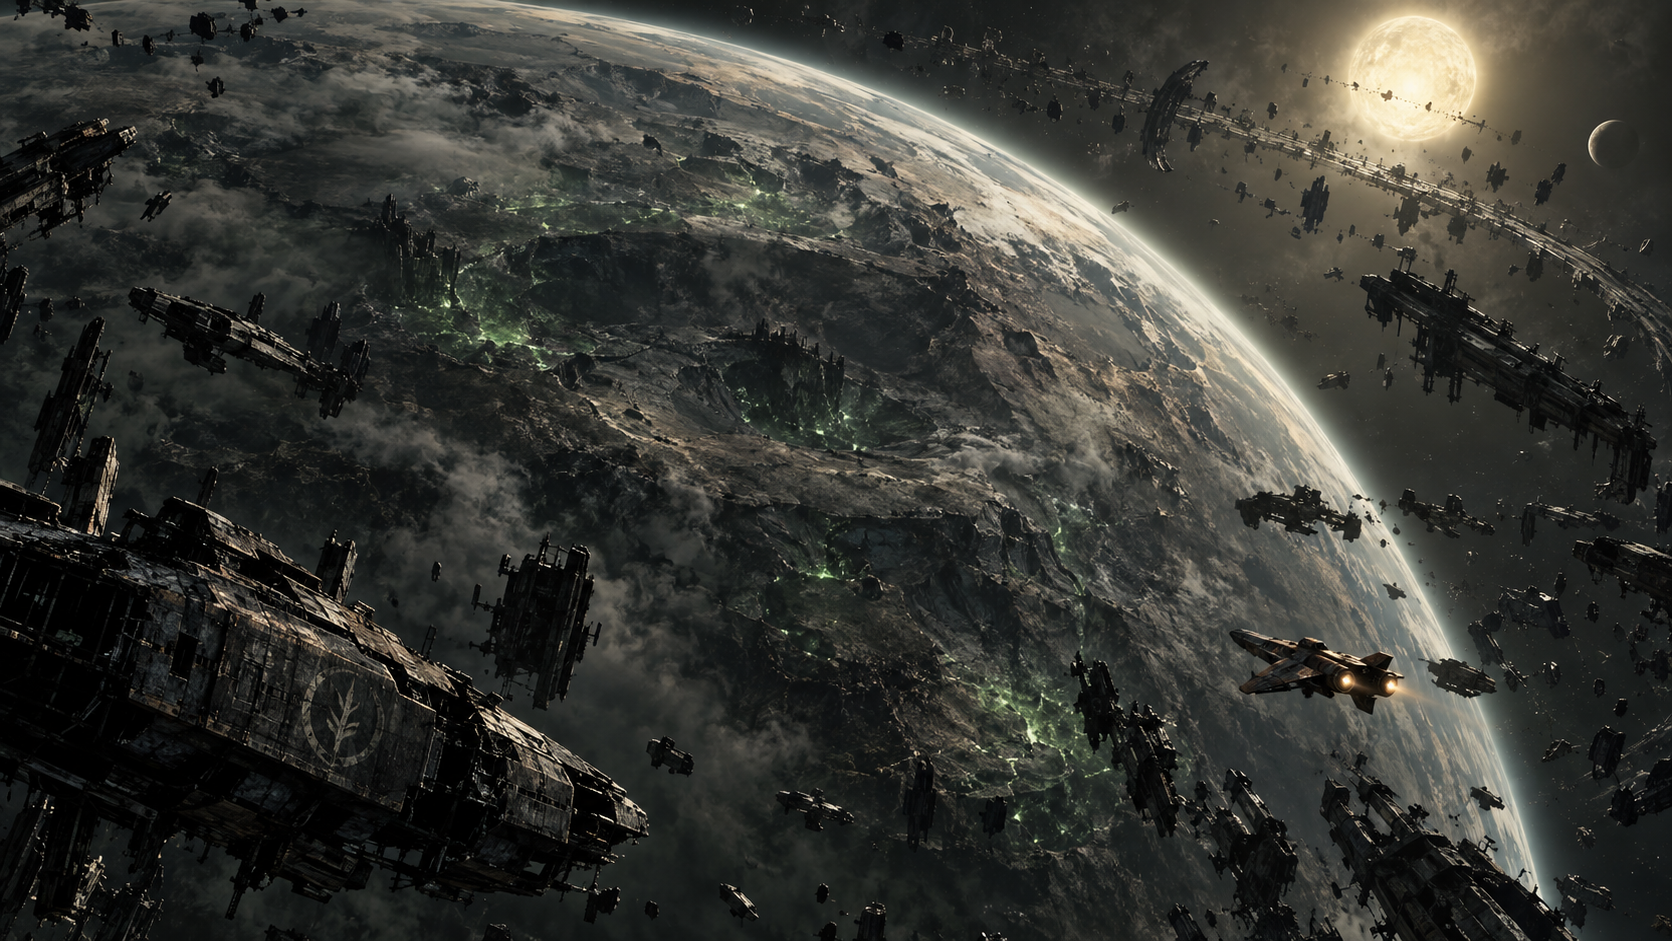
The approach to the Clairmont cuts through a graveyard of asteroids, torn armor, ruined engines, and fragments of vessels lost around Veridian. The debris is not merely scenery. Asteroids break into smaller moving pieces when destroyed, while large metal wreckage must be redirected rather than erased. A shot that clears Carter's lane may send fragments across another path; an explosion can turn the battlefield against an Earth 3 fighter or against the Freedom. Hostile craft enter from the sides beneath the looming command hull, adding movement to an area already crowded with drifting matter.
The Clairmont fires into that moving field with missiles and sweeping energy weapons. Each attack interacts with the same wreckage Carter must navigate, so cover and hazard can exchange roles without warning. As the hull occupies more of the sky, a forward armored hangar gate becomes the only practical route inside. Carter must concentrate fire on its defenses while surviving the ship's continuing bombardment. The gate's destruction does not end the assault; it is the moment an external battle becomes an incursion.
Stage III — Hangar Breakthrough
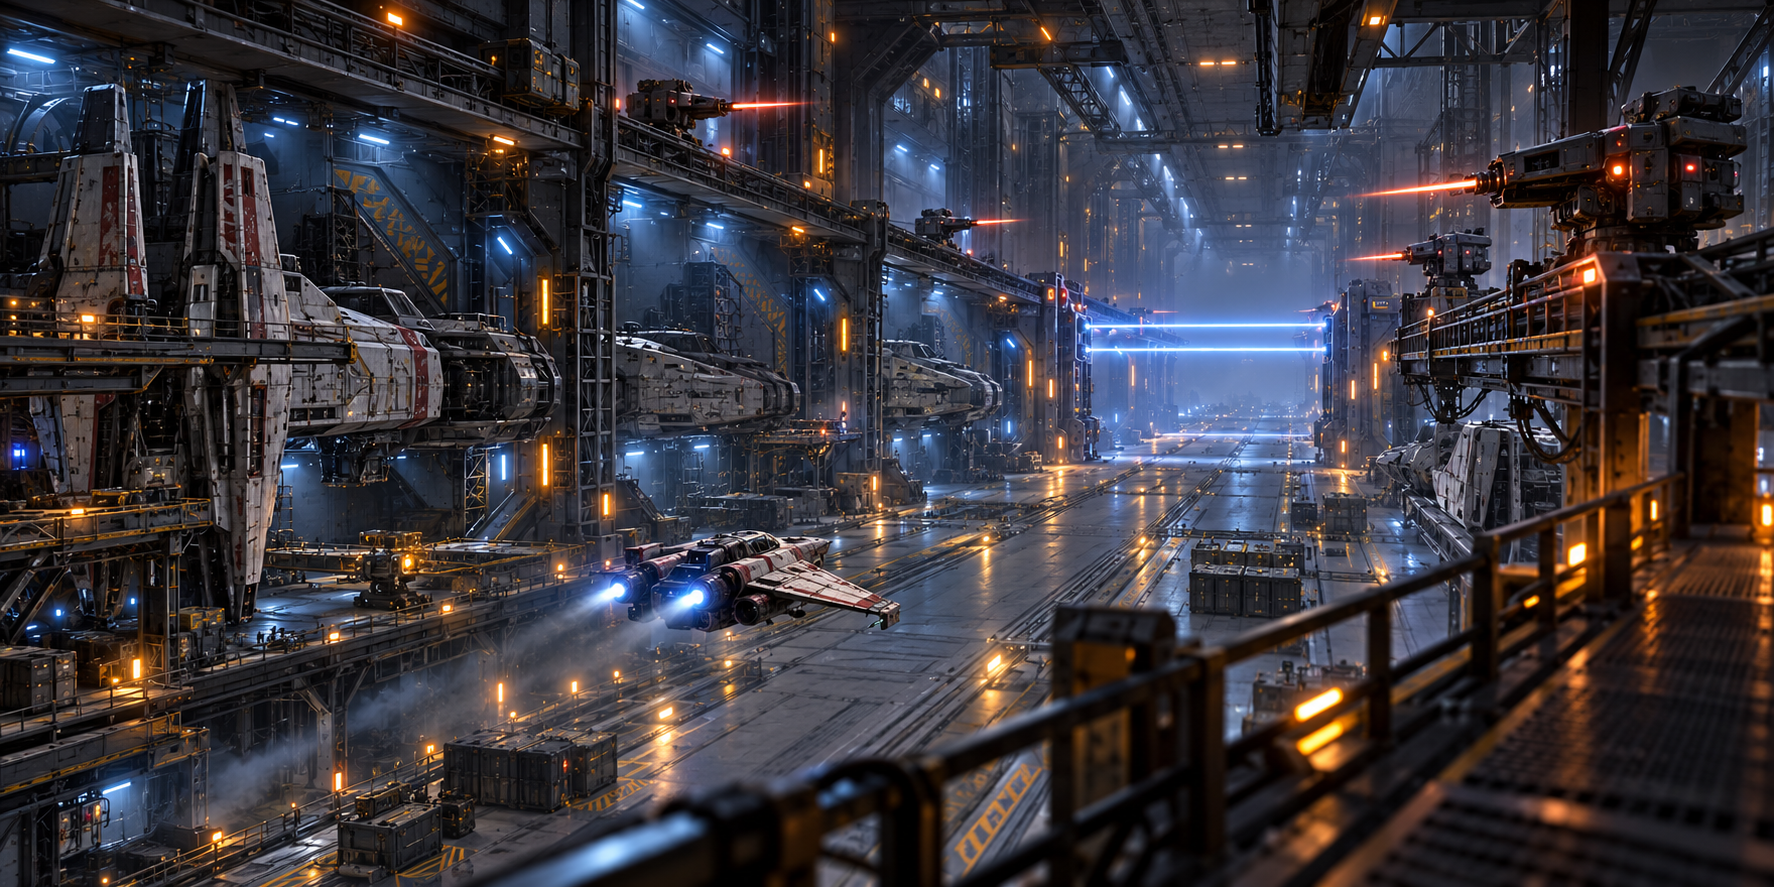
Open space gives way to an industrial flight corridor lined with rails, maintenance bays, and weapons mounts. Turrets on both sides fire sequential homing missiles; other mounted defenses charge lasers across the route. Earth 3 fighters still launch from deeper inside, but the ship's architecture is the central opponent. Removing a turret buys room to maneuver. Reading a barrier's warning and destroying an emitter in time becomes as important as outshooting the craft ahead.
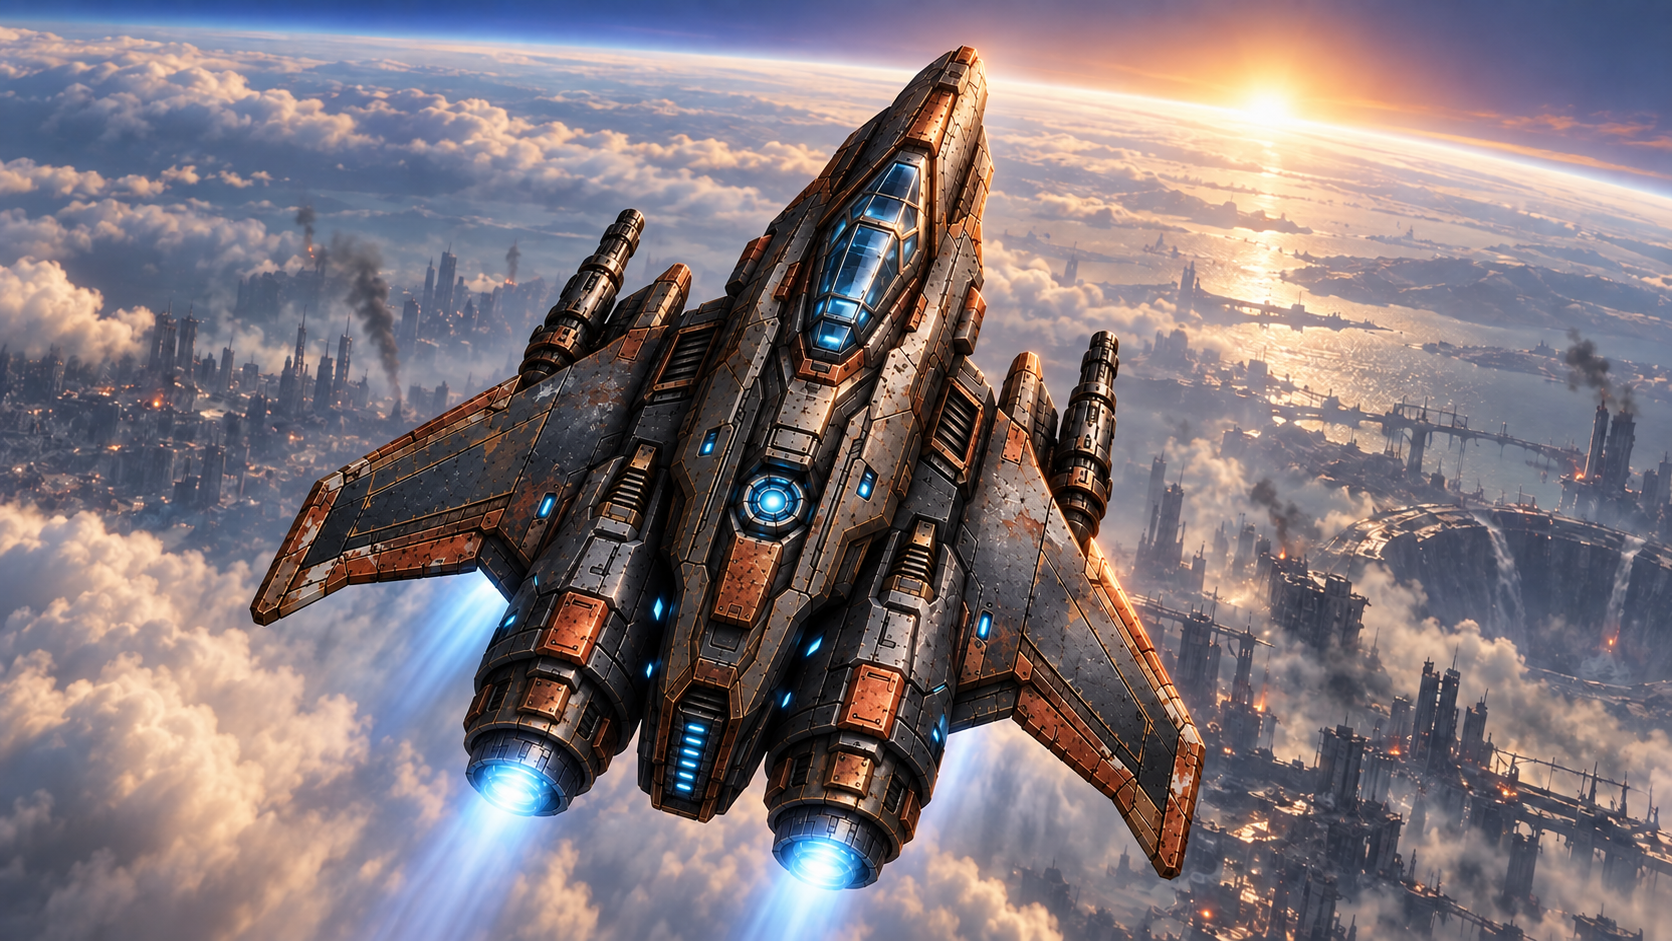
When ordinary containment fails, the Clairmont sends a dedicated security interceptor into the corridor. Its broad blue-and-gunmetal design represents Earth 3 engineering at its most disciplined: heavy armor, stable weapons, and a clear role in defending a military installation. It is dangerous precisely because nothing about it appears improvised. Then a broken transmission cuts through the fighting. Carter recognizes his contact's voice. She is alive, somewhere deeper inside the vessel, and the mission stops being an inference assembled from stolen reports.
The crew sees that the Clairmont is concentrating its security response on Carter. Instead of leading those defenses to the prisoner, they use his visibility as cover. Carter continues forward and keeps drawing fire while the others move through a separate part of the ship. The familiar crew dynamic—Zap, Vargas, Sparks, Tessa, and Echo working with Carter rather than waiting for a lone hero—turns the breach into a coordinated rescue.
Stage IV — Killbox
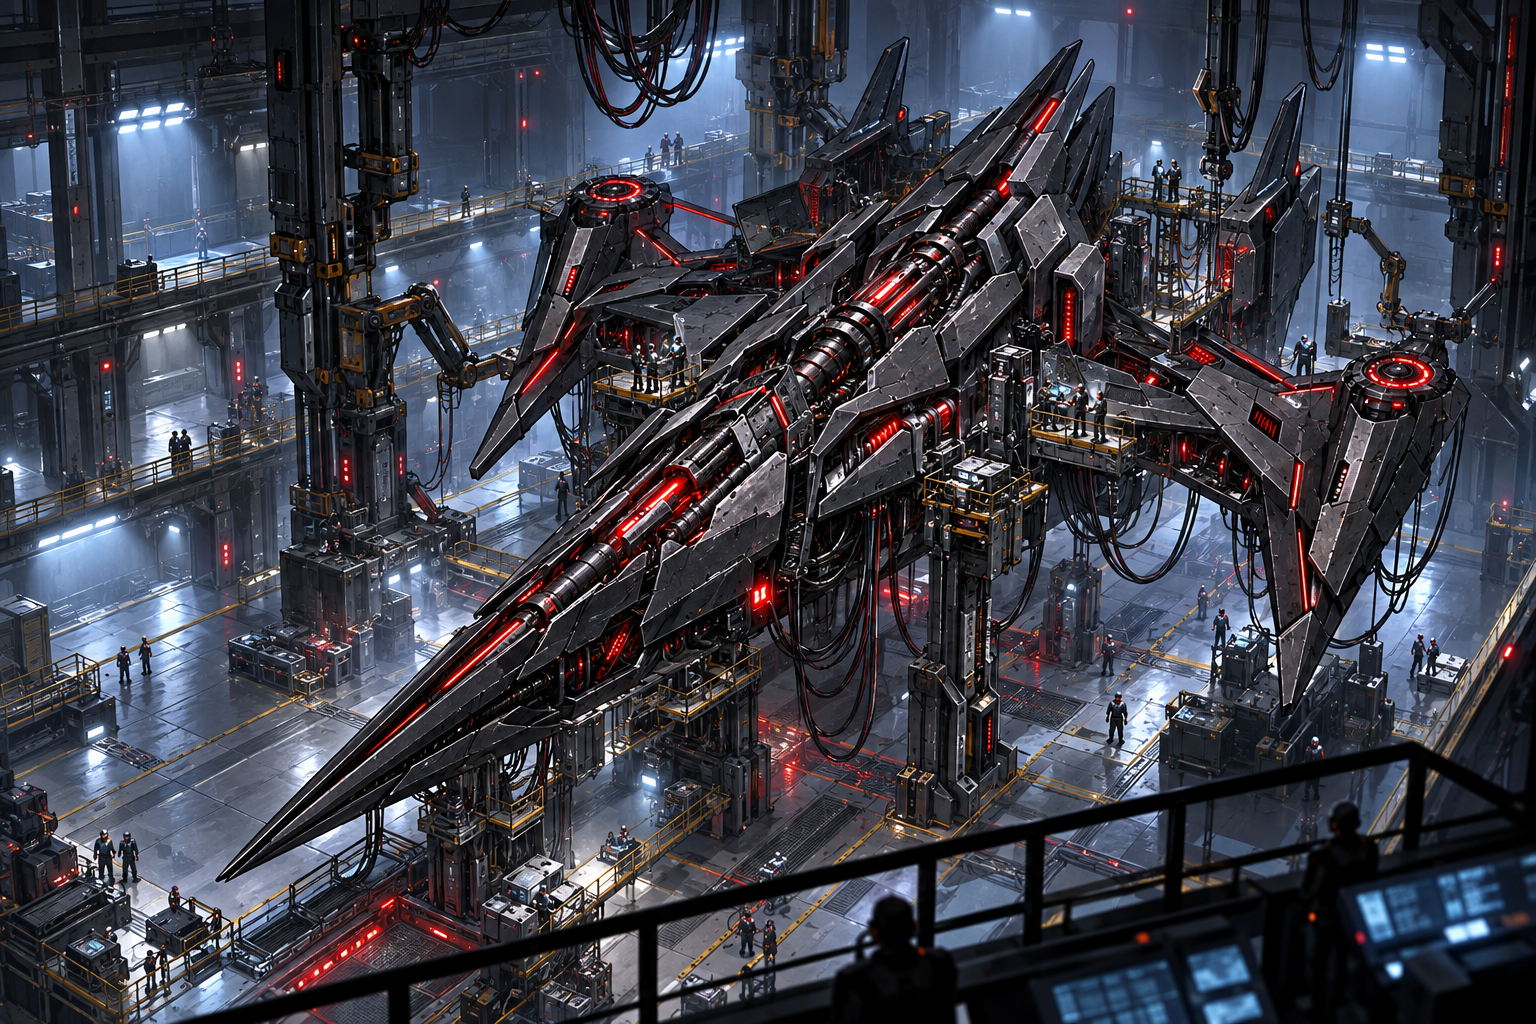
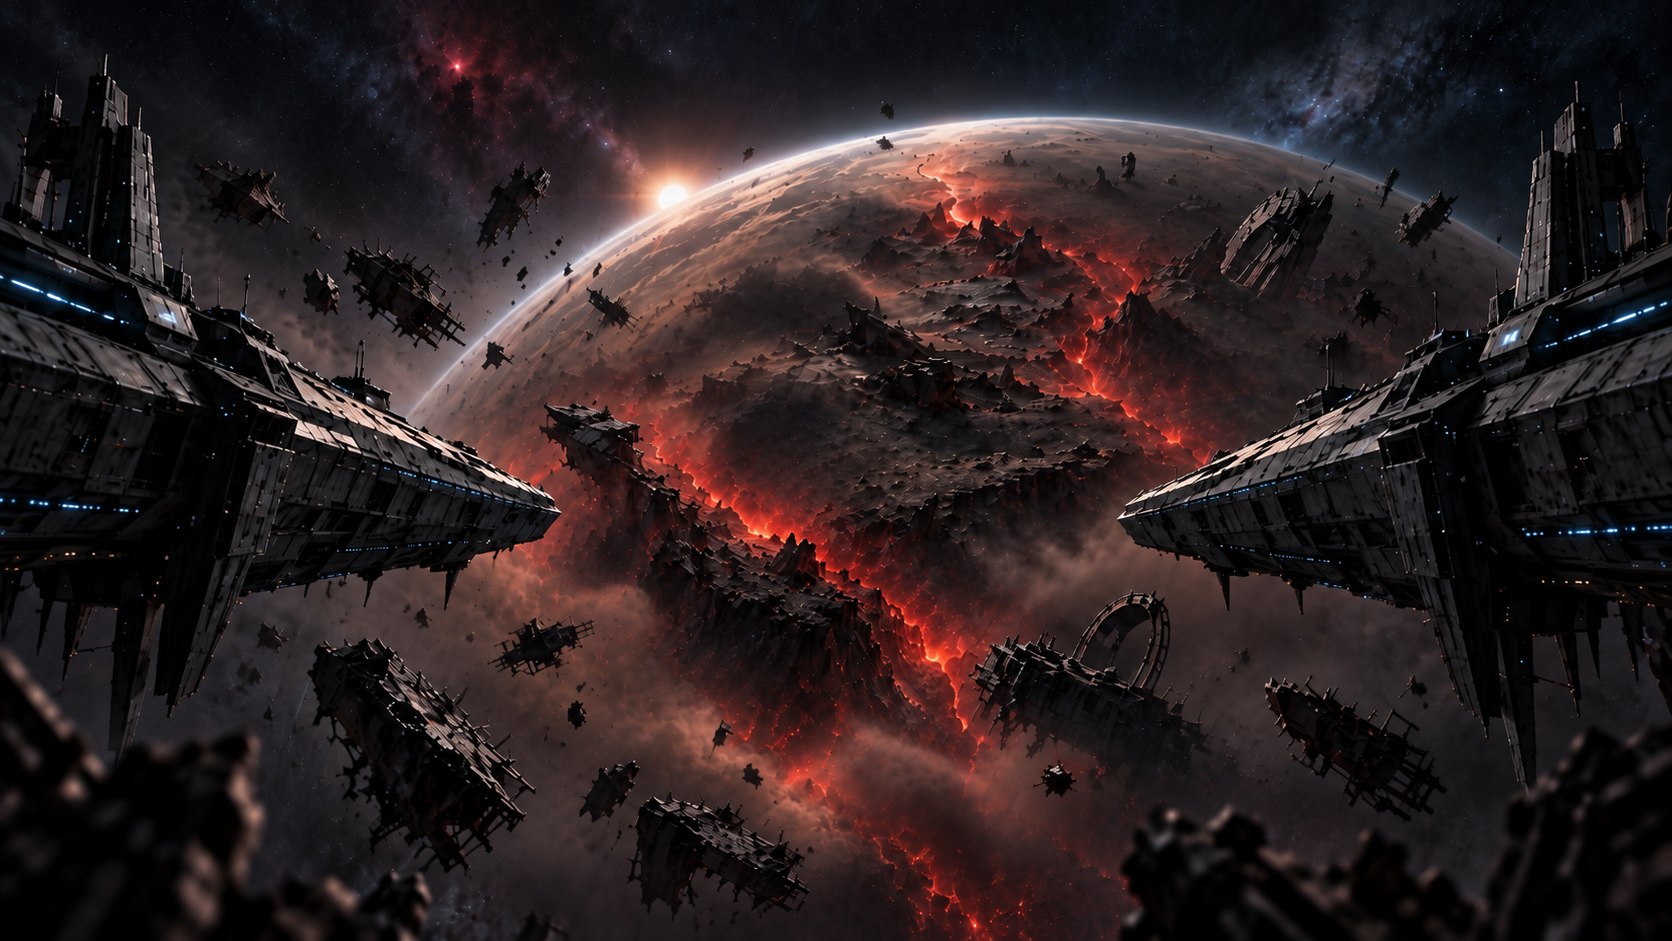
Commander Durne's answer to the breach is the E3-X Wraith. The black-and-red craft is leaner and more unsettling than the hangar's conventional interceptor. It teleports, changes position before an attack, and combines homing missiles, chain-fire, and sweeping lasers. Fixed side defenses remain in the arena, but the stage centers on one opponent instead of another wave of disposable fighters. The contrast is deliberate: Earth 3's ordinary military systems have failed, so Durne exposes something it had kept hidden.
The duel grows more demanding as the Wraith's defenses fall. Its attacks overlap, its repositioning becomes harder to predict, and passing vessels can briefly shield Carter before the Wraith destroys them and sends their wreckage into his path. What looked like cover becomes another weapon aimed at the place he chose to hide. Meanwhile brief crew transmissions mark the rescue taking shape elsewhere in the Clairmont. Carter has made himself the most visible target on the ship so the others can move where Durne is no longer looking.
Near the end, the arena clears and the confrontation becomes more direct. The Wraith's damaged systems grow unstable, but its danger increases as Durne pushes it harder. Carter's task is no longer only to win a duel; he must survive long enough for the crew and their recovered contact to get clear. The ship sent to erase him falls, while the immense Clairmont remains. Earth 3's command vessel has been breached and its captive recovered, not annihilated.
What the Breach Changes
Level 9 closes the ambiguity around Carter's relationship with Central Command. The crew has fought through an Earth 3 fleet screen, entered a major command ship, and taken back someone Command silenced. Yet the contact's choice to help him proves that an institution's betrayal does not describe every person inside it. Carter answers that loyalty with a costly rescue, while his crew makes it possible by trusting one another under fire.
The Wraith leaves a question larger than the duel. Did Earth 3 develop its spatial technology alone, recover it from another civilization, or learn more from the Machine Core and related phenomena than it ever admitted? The Clairmont survives as a damaged but consequential vessel, and the story can return to it. Carter may finally recognize the human force working against him, but the older mysteries of the Noctyri, Veridian, the Veilheart, and the Machine Core have not stopped moving beneath that conflict.